Tips & Tricks
A little about hand dyed yarn
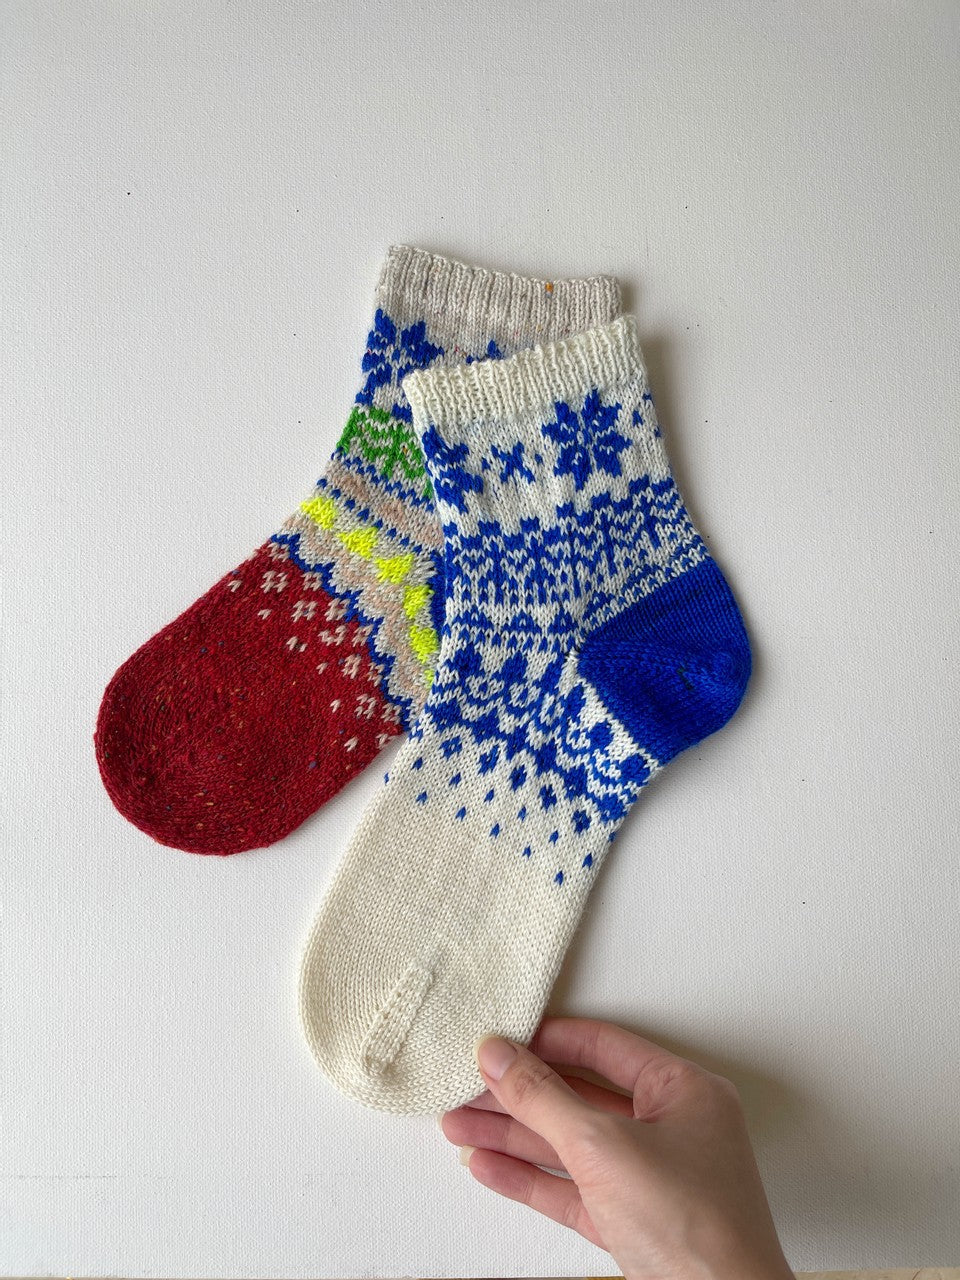
Each skein we dye is done so by hand! This means there will be variations from skein to skein. It’s also worth noting that each colour way shows itself slightly differently on the different fibres, which too can lead to variation - super wash fibres being particularly bright and non super wash more muted in comparison.
Planning & working out skeins needed
When planning a knitted or crochet project in hand dyed yarn, it is a good idea to order enough for your finished item. We provide the meterage for each skein so simply divide the meterage of yarn you need, by the meterage of the skein of your yarn choice. This will give you the quantity of skeins you will need.
For example - 700m needed for project, using merino singles (366m per 100g skein) = 700/366=1.9 which means 2 skeins will be enough for your project.
An example of where more than one colour is needed
Using merino singles (366m per 100g skein)
Main Colour (MC) = 600m 600/366 =1.6
Contrast Colour (CC) = 300m 300/366=0.8
So you will need 2 skeins of MC and 1 of CC.
Alternating Skeins
There is different ways of using skeins, however when knitting garments, we recommend, as good practice, alternating skeins, it’s not usually essential but it does help to spread colours evenly. The helix method is our favourite technique when knitting in the round. Here is Grace O’neil explaining the technique
Caring for your projects
We recommend washing all your projects by hand, using a gentle wool wash and air drying flat or blocking to size. If you’d like to know a little more about blocking, here’s a rather good video explaining a variety of techniques
SWATCHING & GAUGES
When knitting, in particular garments or accessories, we do recommend knitting/crocheting a swatch. A swatch will ensure you get the correct size project that the designer intended and you get a finished item that you expect! Over time you’ll start to understand where you sit on the scale, maybe tight, maybe a little loose, perhaps in the middle. We are all different and even a few stitches off-gauge can make a huge difference in a project.
Swatching
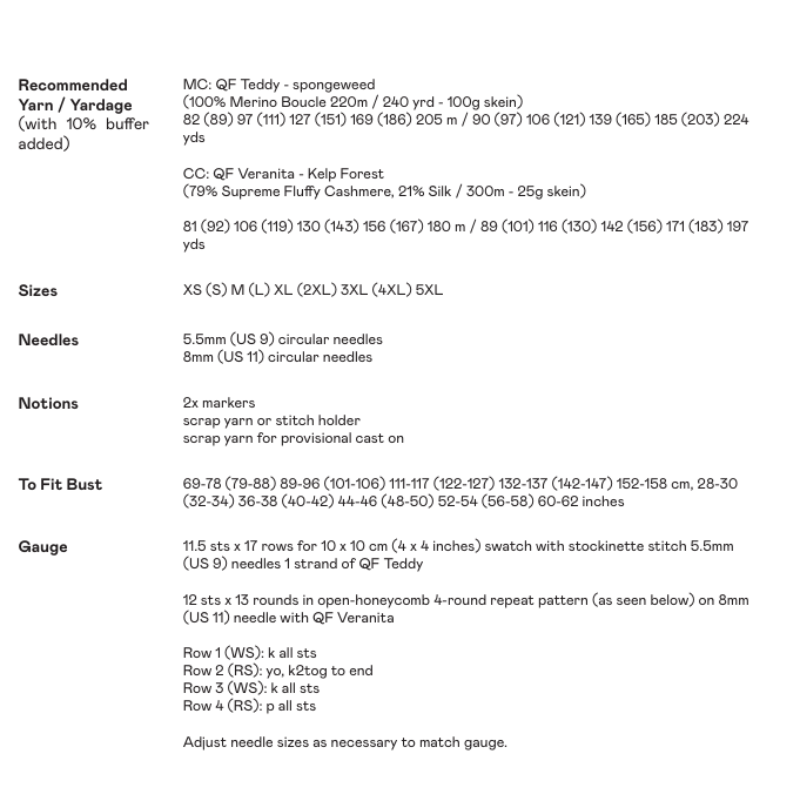
If you aren’t sure where you sit on the scale yet, cast on a swatch using the recommended needle/hook size in a yarn of the same weight suggested.
You want the swatch to be at least 10cm long to be able to take measurements. Knitting/Crocheting using the same needle/hook you will be when you cast on your project, for example if you are using DPN's use those, or circular needles if using those. We find that if we are swatching for knitted items, we add garter to the edges of our swatches to help stop them rolling. For example if knitting flat knit, each row. If in the round knit and purl on alternating rows.
Use the pattern that you are working with as a guide for your swatch. For example if it’s a stockinette, knit in stockinette, if it's colour work do that using your chart. If it’s both, try and swatch for both as your gauge might be different for each. Generally knitters find it useful to go up a needle size to compensate when knitting colour work.
Using a ruler or gauge ruler, line up stitches within 10cm as accurately as you can, we find using a needle/hook against each stitch as we go along from 0-10cm helps to give us a better view on what we are counting.
The maths
For example you might need a 20 stitch per 10cm gauge over a scarf that is 100cm long - you’ll be knitting approx 200 stitches long.
If you knit at 22 stitches per 10cm your final project will be 20cm too short. Your gauge is tighter. However if you like the fabric you could add 40 stitches to your pattern to make 220 stitches and meet your 100cm measurement.
Or if you get 18 stitches per 10cm your final project will be 20cm too long. However if you like the fabric you could decrease the stitches to 180 stitches meet your 100cm measurement.
Using your swatch information
You might have got 22 stitches above for your 100cm long scarf on a 3mm needle and the 18 stitches on a 4mm needle, you might find that using a 3.5mm needle/hook will give you the ideal and recommended gauge of 20 stitches over 10cm.
In other words if you have more stitches per 10cm, your gauge is a little tighter, to reduce go up a needle size accordingly.
If you have less stitches per 10cm, your gauge is a little looser, to reduce, go down a needle size.

Latest Pattern ✨

Qing Fibre
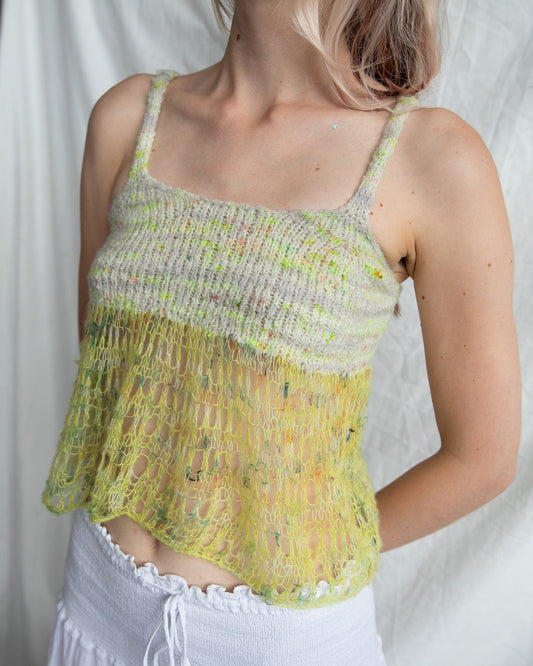
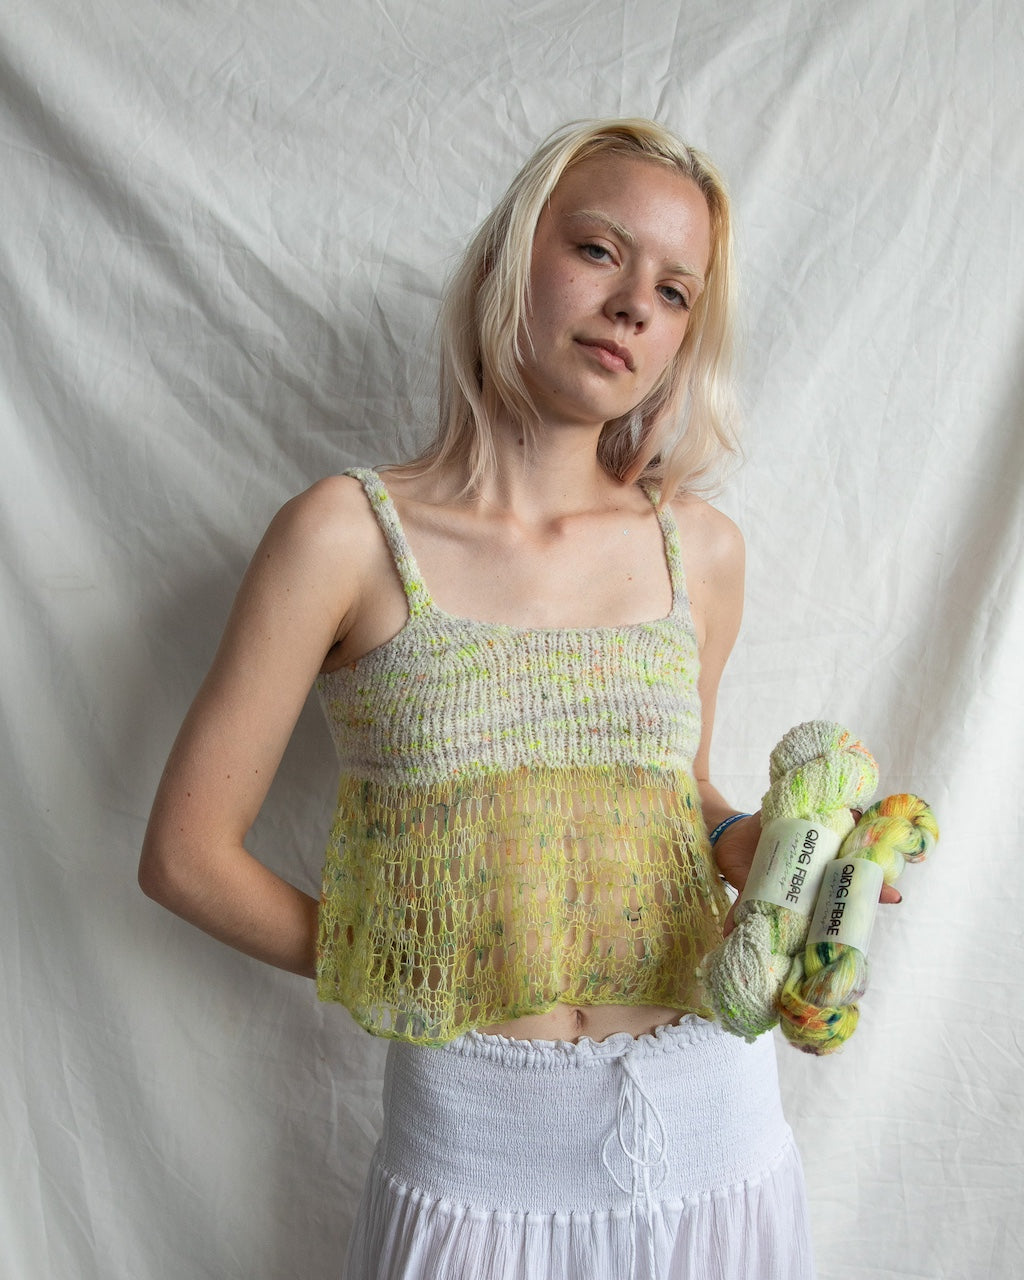
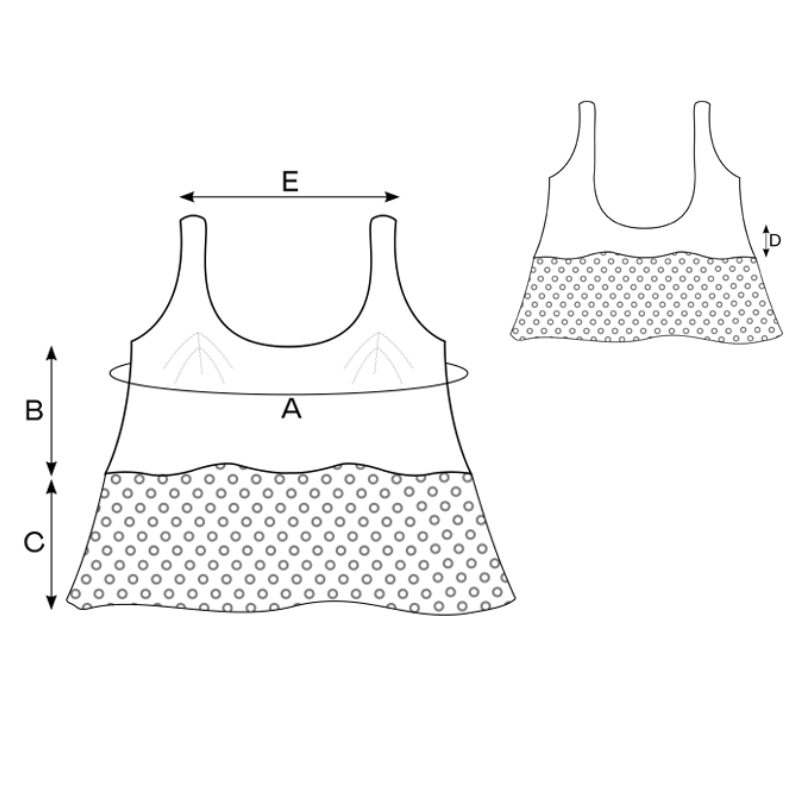
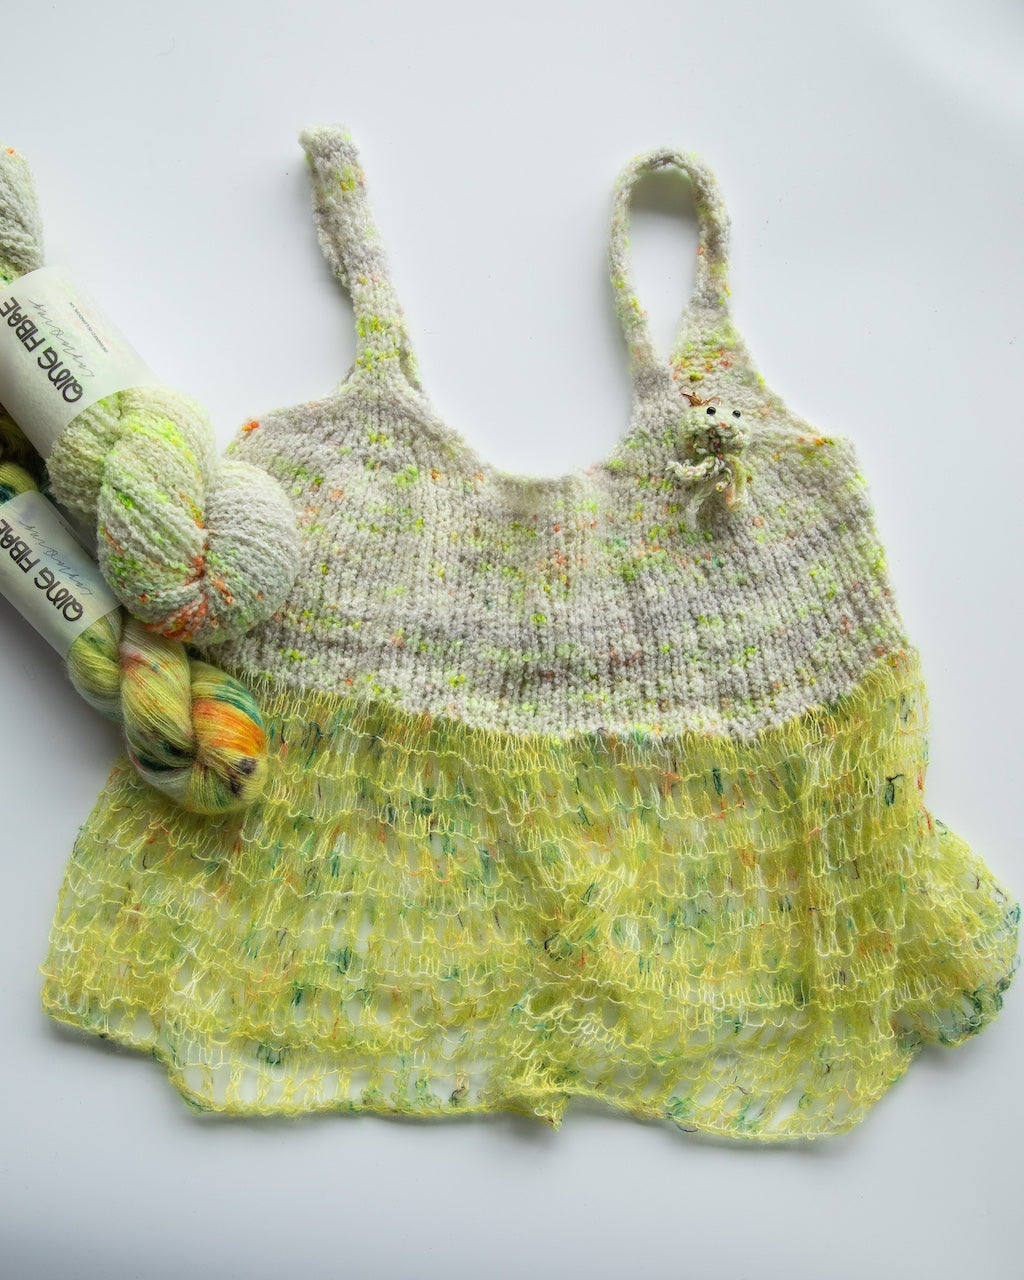
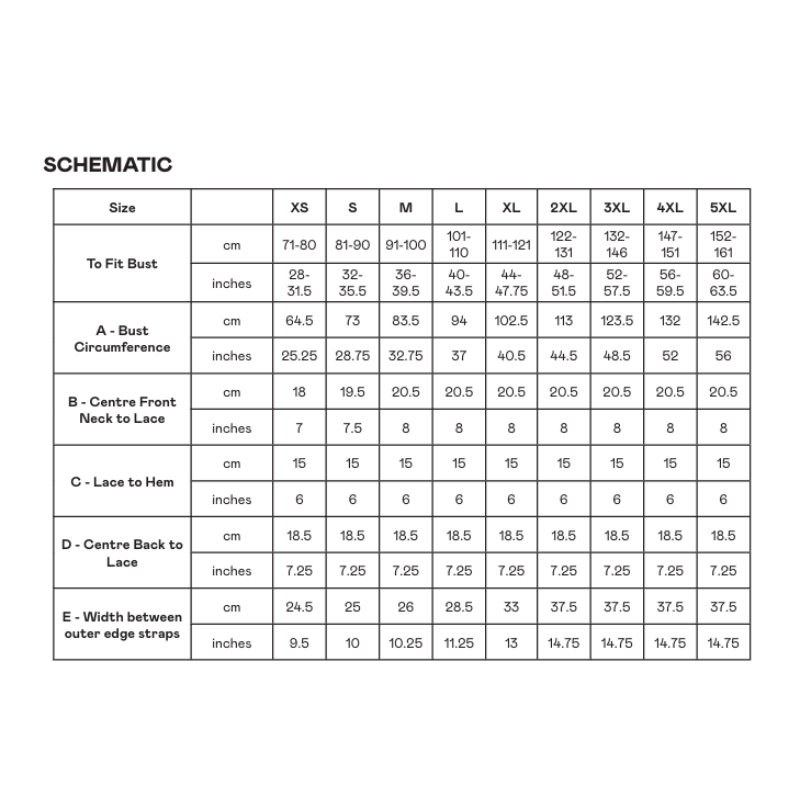
Lolita Strap Top Pattern - Download


All Patterns
-
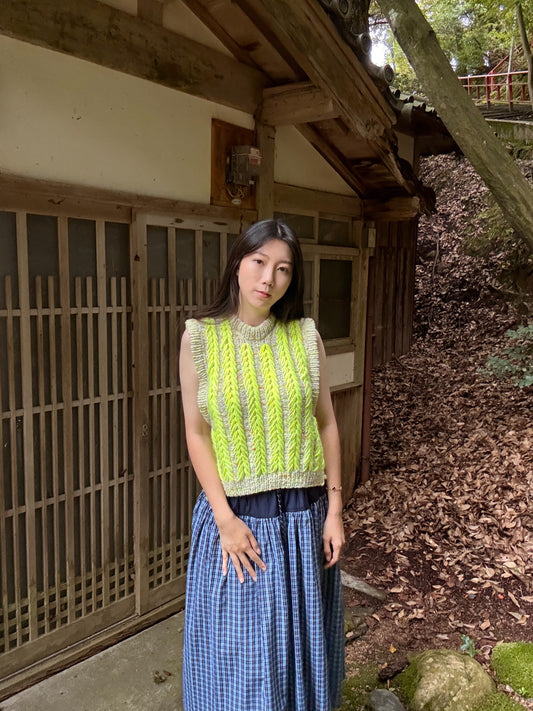
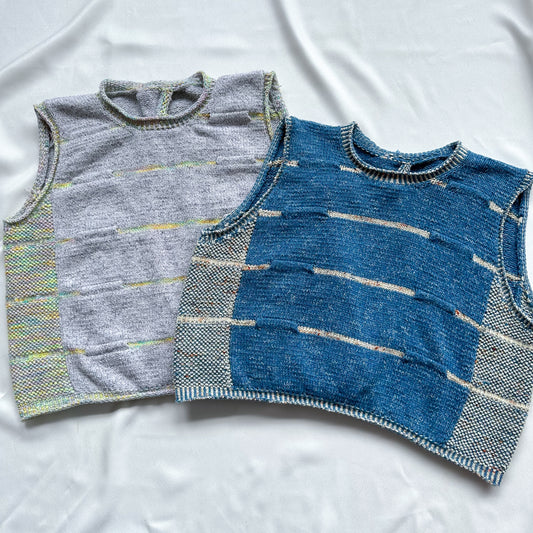
Parquet Vest Pattern - Download
Normaler Preis £5.00 GBPNormaler PreisGrundpreis pro -
Lolita Strap Top Pattern - Download
Normaler Preis £3.00 GBPNormaler PreisGrundpreis pro -
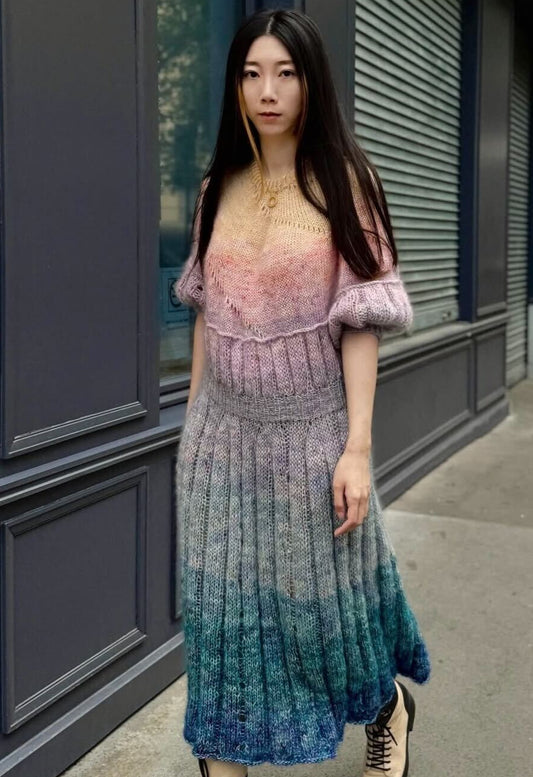
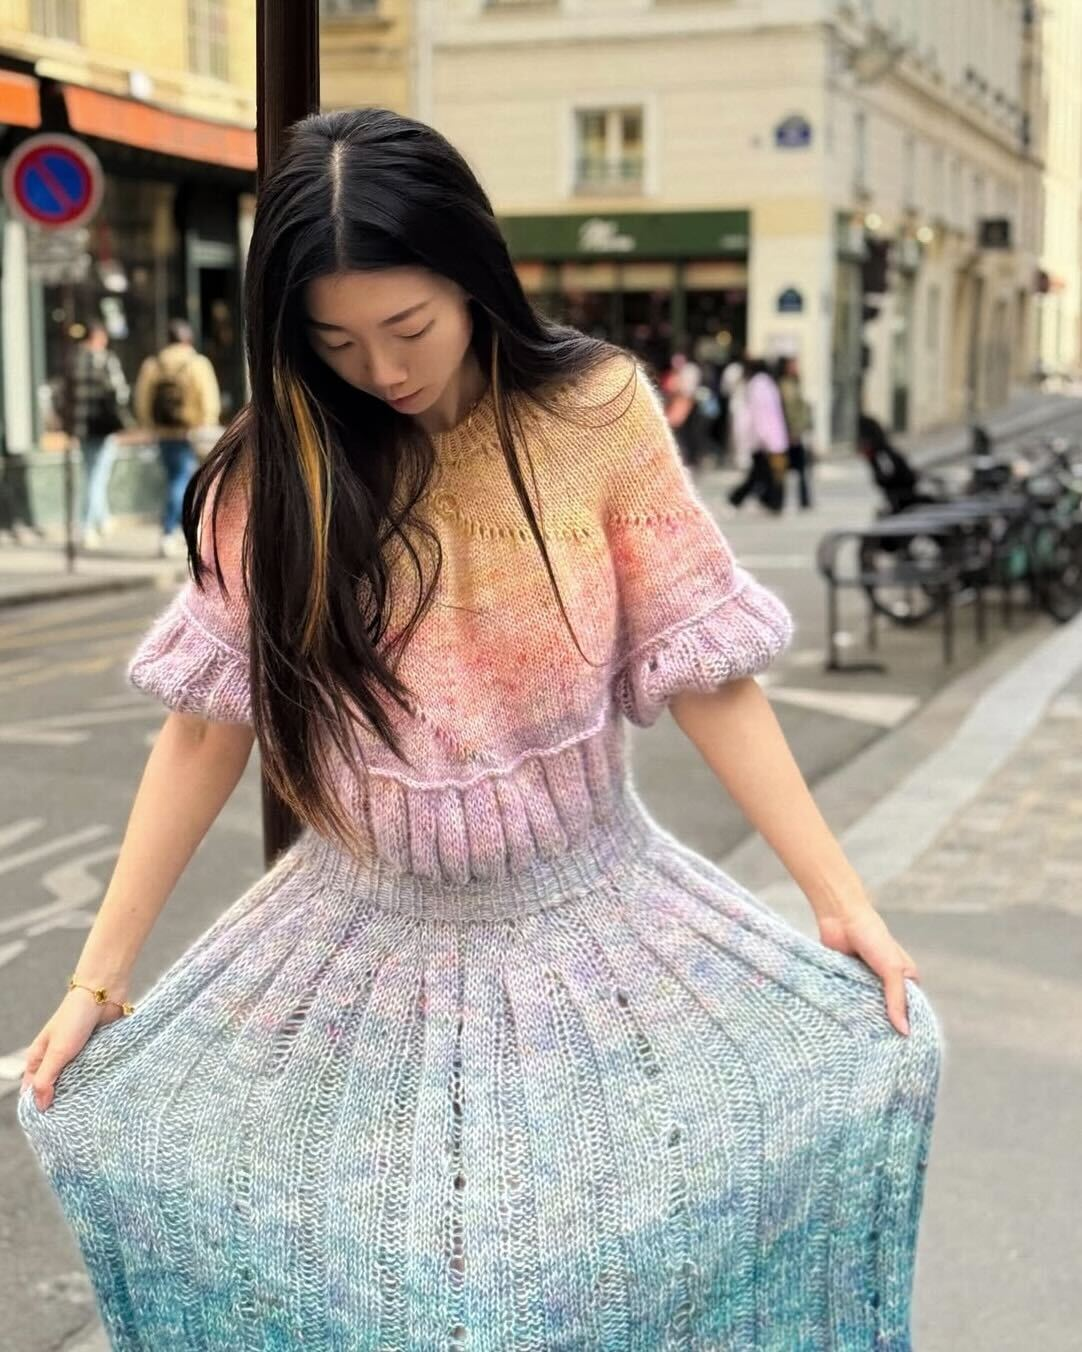
Heligan Dress Pattern - Download
Normaler Preis £5.00 GBPNormaler PreisGrundpreis pro -
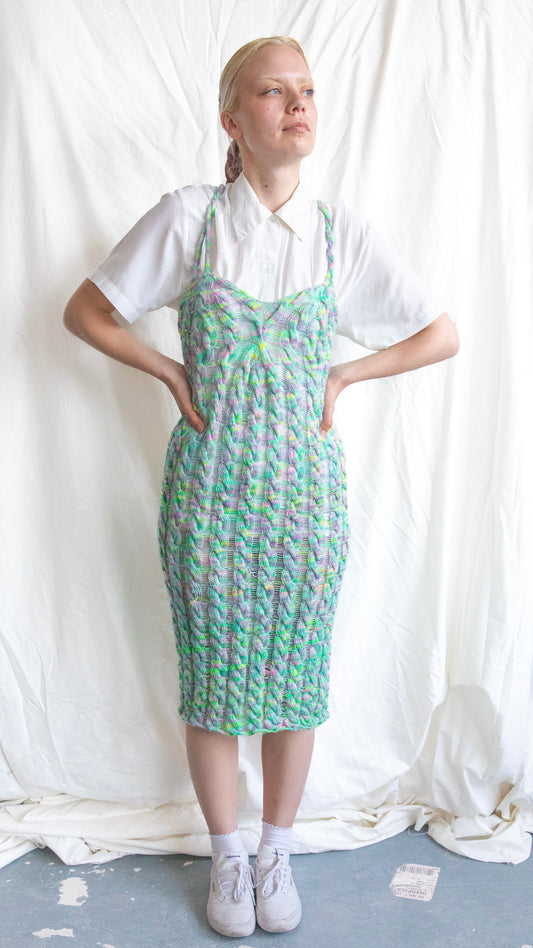
Sweet Tooth Dress Pattern - Download
Normaler Preis £5.00 GBPNormaler PreisGrundpreis pro -
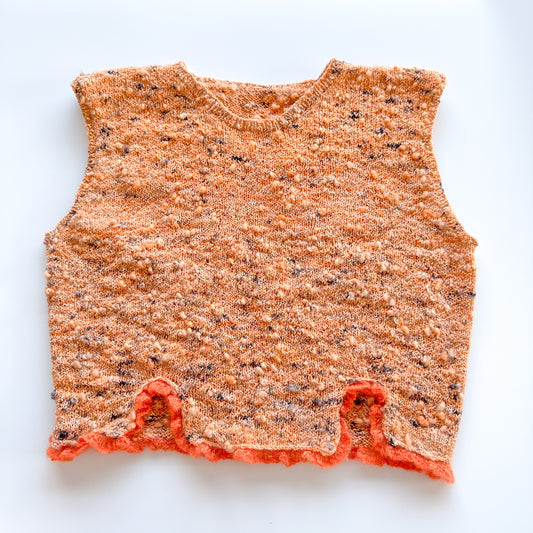
Forget Me Knot Tank Pattern - Download
Normaler Preis £3.60 GBPNormaler PreisGrundpreis pro -
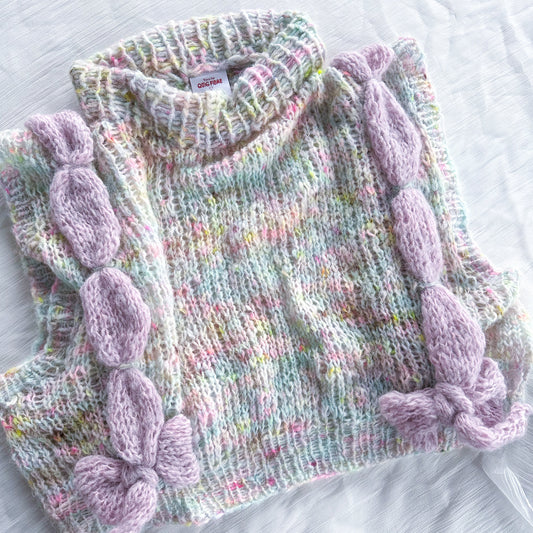
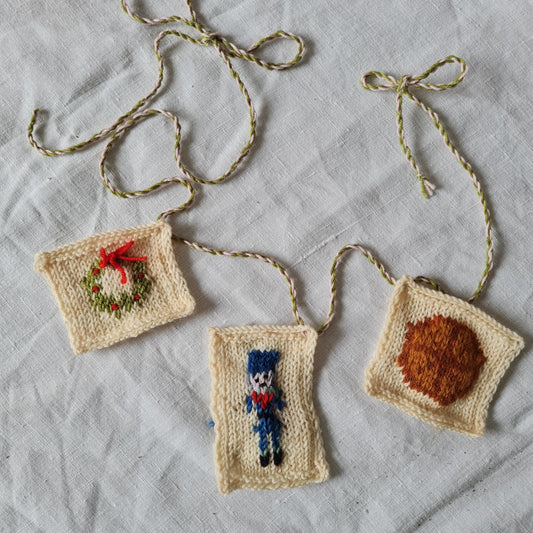
Christmas Bunting Pattern
Normaler Preis £2.50 GBPNormaler PreisGrundpreis pro -
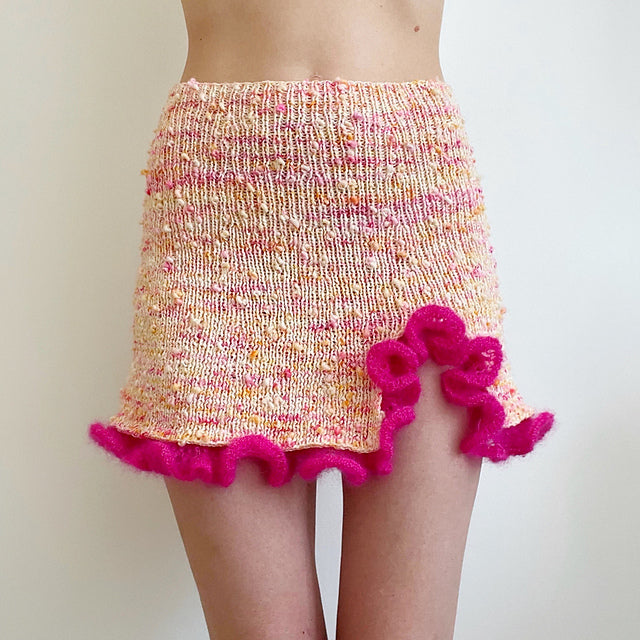
Lolita Frill Top - Download
Normaler Preis £3.00 GBPNormaler PreisGrundpreis pro -
Ice Cream Cone Top - Download
Normaler Preis £5.00 GBPNormaler PreisGrundpreis pro -
Space Top Pattern - Download
Normaler Preis £3.00 GBPNormaler PreisGrundpreis pro -
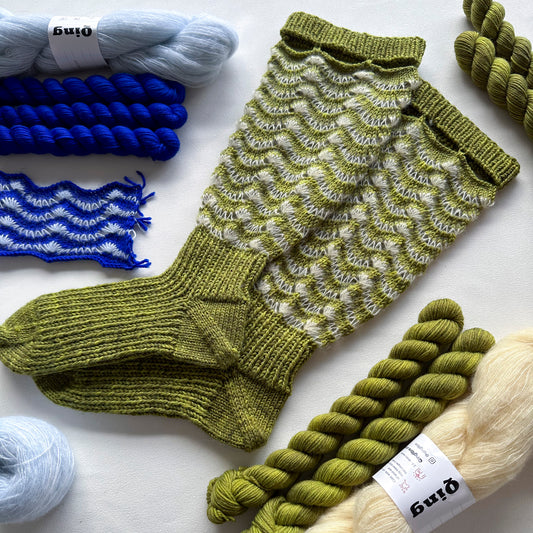
Simply Wave Long Sock Pattern - Download
Normaler Preis £2.00 GBPNormaler PreisGrundpreis pro